How to Repot a Houseplant Step by Step
A calm, step-by-step method for moving a houseplant into a slightly larger pot with fresh mix, plus aftercare and the mistakes that cause most repotting trouble.
At a glance
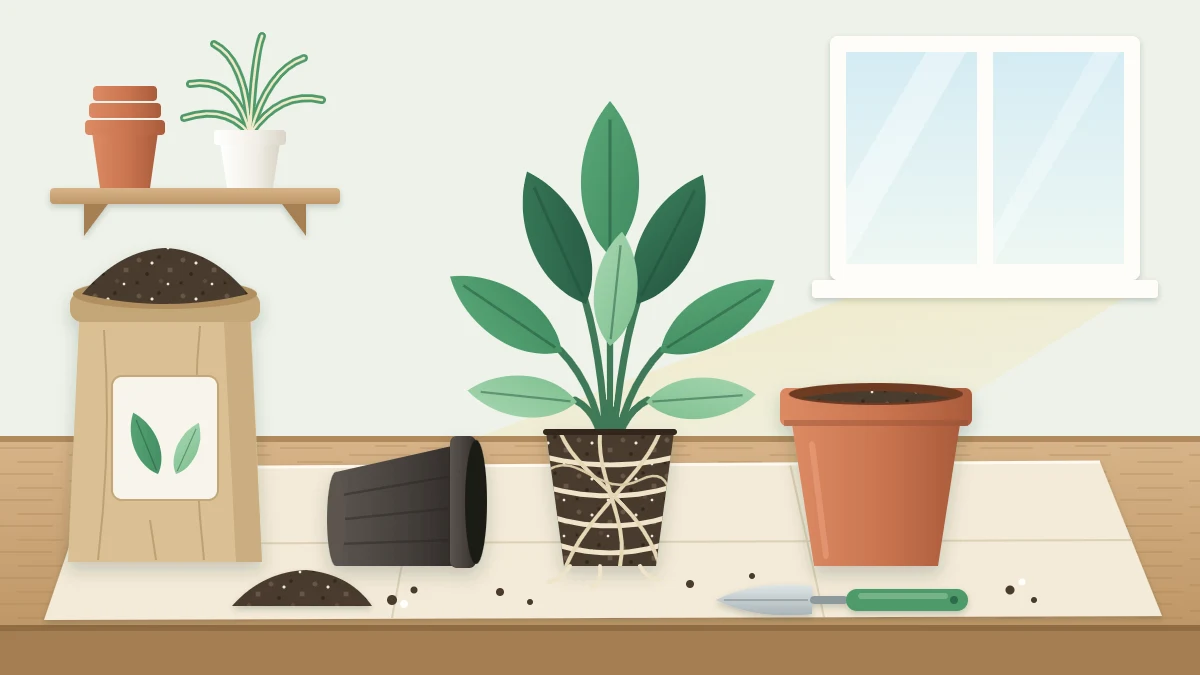
What you need
- Pot one size larger, with drainage holes
- Fresh potting mix suited to the plant
- Newspaper or a tray to protect the surface
- Trowel or scoop
- Clean scissors or pruners
- Watering can and saucer
Repotting looks more drastic than it is. Once you know how to repot a houseplant, the job takes less than half an hour, and most healthy plants come through it with nothing worse than a short pause in growth.
The method below is deliberately gentle: a slightly bigger pot, fresh mix, the same planting depth and as little root disturbance as the plant allows. If you are not yet sure the plant needs it, start with the signs in when to repot houseplants.
What you need
- A pot one size larger than the current one, with drainage holes
- Fresh potting mix suited to the plant
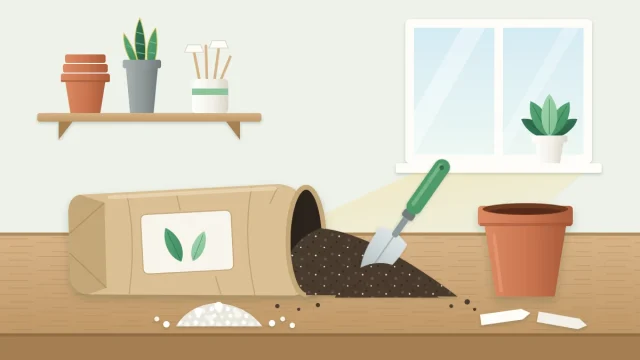
- Newspaper, a tray or an old sheet to protect the surface
- A trowel or scoop, and clean scissors or pruners
- A watering can and a saucer
Use new mix rather than reusing the old. Which type to buy depends on the plant; the guide to potting mix for houseplants explains the options.
Choose the right size of pot
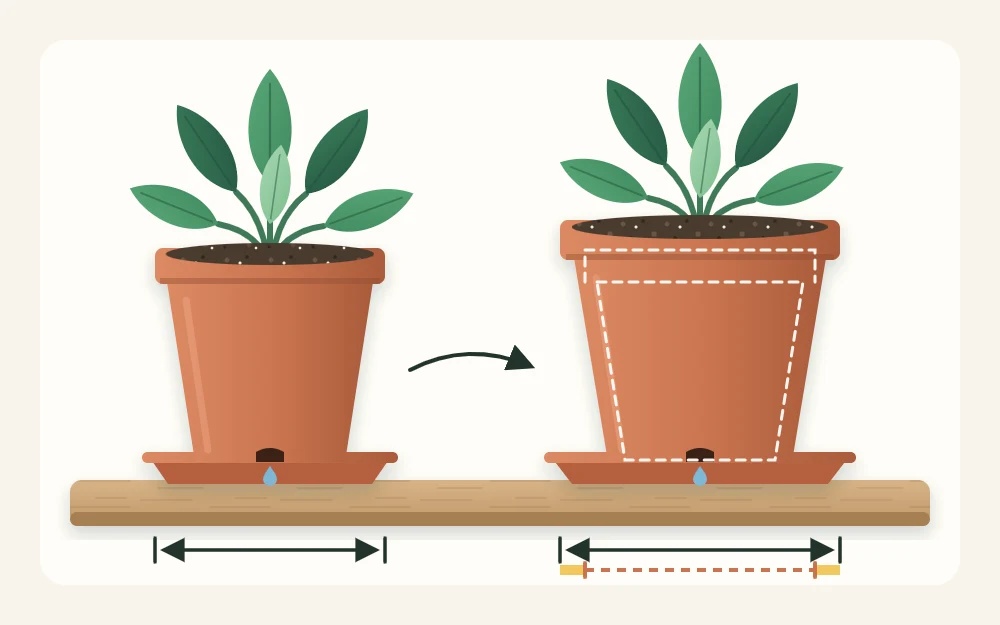
“One size up” means a pot roughly 1 to 2 in (2.5 to 5 cm) wider than the old one. For very large floor plants a little more is reasonable; for small plants, stay at the lower end.
A much larger pot is not a kindness. The extra mix holds water that the roots cannot yet reach, so it stays wet for a long time. The new pot must also let water out, and its material affects how fast it dries, which is covered in the guide to pots and drainage.
The day before
Water the plant about a day ahead if the mix is dry. A lightly moist root ball slides out more easily, holds together better and is less brittle than a dry one. Avoid repotting a plant whose mix is soaking wet unless you are dealing with a root problem.
If your new potting mix is dry and dusty, dampen it in a tub so it is evenly moist but not dripping.
Repotting step by step
- Protect the surface. Spread newspaper or a tray and set out everything within reach.
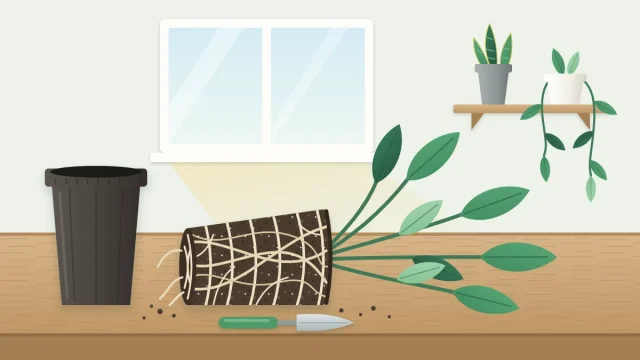
- Slide the plant out. Put one hand over the soil with the stems between your fingers, tip the pot and squeeze or tap it until the root ball comes free. Do not pull on the stems. If it is stuck, run a blunt knife around the inside of the pot.
- Look at the roots. Loosen circling roots gently with your fingers so they point outward, and tease the base open a little. Trim only roots that are clearly dead, meaning soft, dark or hollow. Leave a root ball that is not crowded mostly alone.
- Add mix to the base. Put enough fresh mix in the new pot so that the top of the root ball will sit at the same depth as before, with a gap of about 0.5 to 1 in (1 to 2.5 cm) below the rim. Larger pots can take a deeper gap.
- Center the plant. Set it in, check the height from the side and add or remove mix underneath until it is right.
- Fill around the sides. Feed mix into the space around the root ball, turning the pot as you go. Firm it lightly with your fingertips so the plant stands steady and there are no large hollows.
- Water in. Water slowly until it runs from the drainage holes, let the pot drain, then empty the saucer. Top up with a little mix if the surface settles.
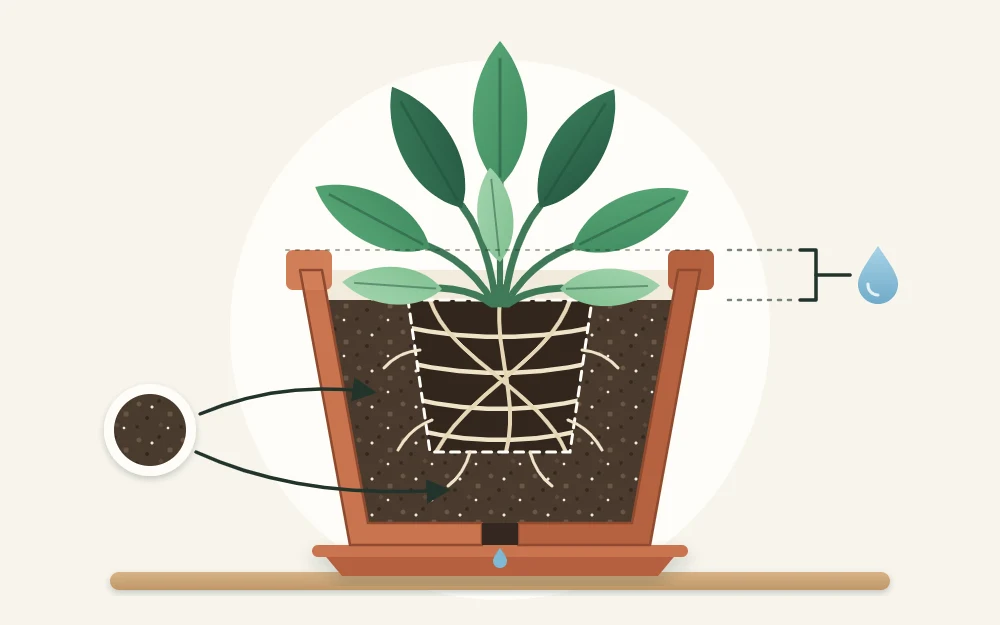
Tip
The gap below the rim is what lets you water properly. Without it, water runs off the surface and over the edge before it can soak in.
Aftercare for the first few weeks
Put the plant back in similar light to before, but keep it out of harsh direct sun for a week or so while the roots settle. Disturbed roots take up water less efficiently for a while, and strong sun increases what the leaves demand.
Fresh mix holds more water than the old, root-filled pot did, so the plant will probably dry out more slowly than you are used to. Check the mix before each watering and follow the method in how to water houseplants rather than your old habits for this pot.
Hold off on fertilizer at first. Many potting mixes already contain some, and new roots are easily stressed; when you do resume, follow the product label. Expect a pause in growth, and perhaps a dropped leaf or some brief drooping. That is common and usually passes as new roots grow into the mix.
What not to do
- Do not bury the stem deeper. Mix piled against a stem that was previously above the soil can keep it damp and lead to decay. Keep the old soil line.
- Do not pack the mix hard. Pressing it down firmly squeezes out the air spaces roots need. Light firming is enough.
- Do not jump several pot sizes. It saves no work in the long run and leaves the roots surrounded by wet mix.
- Do not add gravel or broken pottery to the bottom. It takes up root space and does not replace a drainage hole.
- Do not break up a healthy root ball. Loosening the outside is enough for most plants.
Good to know
How much root handling a plant accepts varies by species. Some resent any disturbance, while others can be divided into pieces. Look up your plant by name before doing more than loosening the outer roots.
If the plant is too big to lift
For a heavy floor plant, lay the pot on its side on a sheet and ease the container off the root ball rather than lifting the plant out, ideally with a second pair of hands. If moving it is not practical, scrape away the top layer of old mix without damaging the main roots and replace it with fresh mix.
For more detail and other approaches, see Penn State Extension’s guide to repotting houseplants and the University of Maryland Extension’s page on potting and repotting indoor plants.
Frequently asked questions
How much bigger should the new pot be?
As a starting point, choose a pot roughly 1 to 2 inches (2.5 to 5 cm) wider than the current one, with drainage holes. Small plants suit the lower end of that range, and very large plants can take a little more. A far bigger pot holds extra wet mix the roots cannot use yet.
Should I water a plant right after repotting?
In most cases, yes. Watering slowly until water runs from the drainage holes settles the fresh mix around the roots. Let the pot drain and empty the saucer. After that, check the mix before watering again, because a newly repotted plant often dries out more slowly than it did before.
Why is my plant drooping after repotting?
Some drooping or a pause in growth is common, because disturbed roots take up water less efficiently for a while. Keep the plant out of harsh direct sun, check the mix before watering and skip fertilizer for now. If drooping continues, check whether the mix is staying very wet or has dried out.