Spider Plant Care for Beginners: Light, Water and Plantlets
How to look after a spider plant: the indirect light it grows best in, watering by checking the mix, keeping up with its fast roots, and rooting plantlets while they are still attached. Includes what the ASPCA lists for dogs and cats.
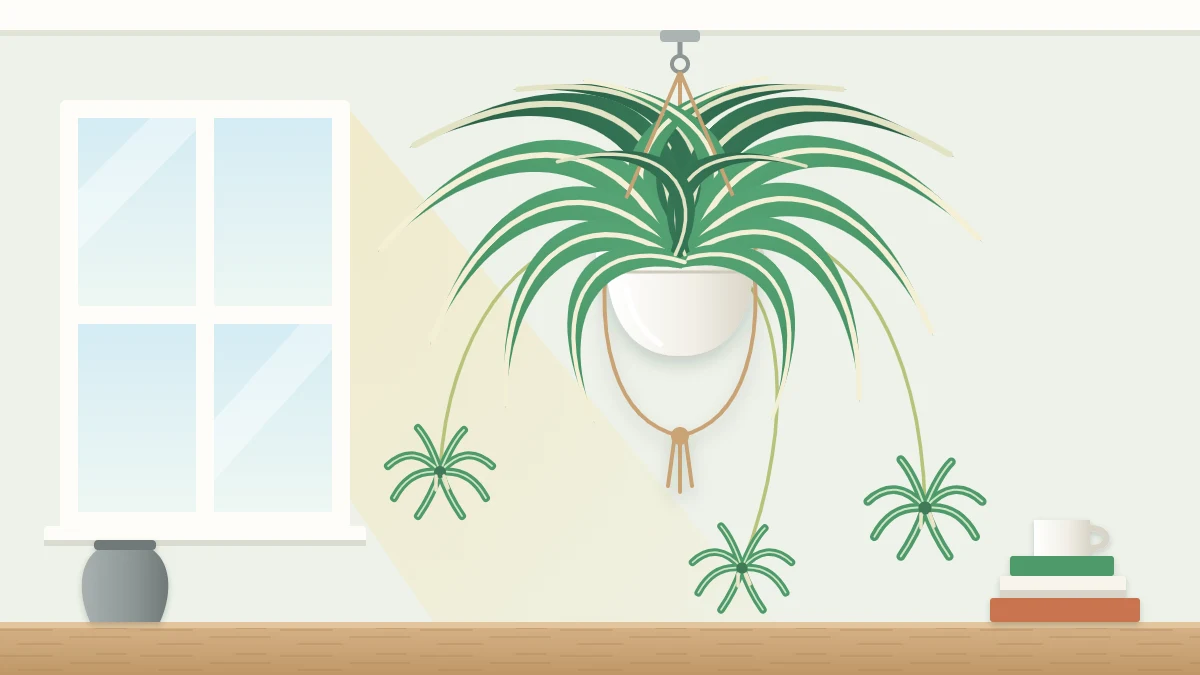
The spider plant (Chlorophytum comosum) is a fountain of narrow, arching leaves, plain green or striped with white, that sends out long stems carrying miniature copies of itself. It adapts to a range of indoor conditions and grows quickly when it is content.
Spider plant care for beginners centers on three things: enough indirect light, watering based on what the potting mix tells you, and a pot that keeps pace with fast-growing roots. How those play out depends on your light, pot, mix and season, so use the points below as a starting place and adjust to what you see.
Spider plant care at a glance
| Need | Starting point | What changes it |
|---|---|---|
| Light | Bright to medium indirect light | Strong direct sun can scorch; dim spots slow growth |
| Watering | Water thoroughly when the upper part of the mix feels dry | Light, season, pot size and how full of roots the pot is |
| Potting mix and pot | General-purpose indoor potting mix in a pot with drainage holes | A root-filled pot dries much faster |
| Temperature | Normal room warmth | Cold drafts and hot air from vents |
Light: bright to medium indirect
Spider plants grow best in bright to medium indirect light: a bright spot where the sun does not land directly on the leaves, or a little farther back in the room. In good light the plant fills out, striped cultivars keep a crisp pattern, and mature plants are more likely to produce plantlets.
Strong direct sun can scorch the thin leaves, leaving pale, dry patches. In a dim spot the plant usually survives but grows slowly and may look sparse. If you move it, do so in stages so it can adjust.
Watering: check the mix, then water thoroughly
Under the soil, a spider plant has thick, pale storage roots that hold water. They give it some tolerance of drying out, so a missed watering is rarely a disaster. They do not make it a plant for constantly wet mix.
Check the mix before each watering. As a starting point, water when the top inch (2.5 cm) or so feels dry, though the right depth depends on the size of the pot and on your conditions. Then water thoroughly until water runs from the drainage holes, let it drain, and empty the saucer after a few minutes.
How quickly the mix dries changes through the year. In bright light during active growth a root-filled pot may dry in a few days; in winter, or in a dimmer room, the same pot can stay moist much longer. Normal room warmth suits the plant, roughly 60 to 80°F (16 to 27°C), away from cold drafts and heating vents.
Brown tips are common on spider plants
Almost every spider plant develops some brown leaf tips sooner or later. They are common on this plant and have several possible contributors, often more than one at a time, so there is no single fix to reach for.
Rather than guess, work through the checks in the guide to why brown leaf tips happen. A few brown tips on an otherwise vigorous plant are cosmetic and not a sign that it is failing.
Fast roots and when to move up a pot
Spider plant roots grow fast. A healthy plant can fill its pot quickly, and the thick roots sometimes push the root ball up toward the rim or bulge the sides of a thin plastic pot.
Signs that the plant may be ready for more room include roots growing out of the drainage holes, water running straight through, and mix that dries far faster than it used to. Slide the plant out to confirm. If the roots are circling tightly with little mix left, move it to a pot one size larger using fresh mix. The step-by-step method is in the guide on how to repot a houseplant.
Tip
A slightly snug pot is fine for a spider plant. Move up one pot size at a time; a pot much larger than the root ball holds wet mix the roots cannot use.
Rooting plantlets
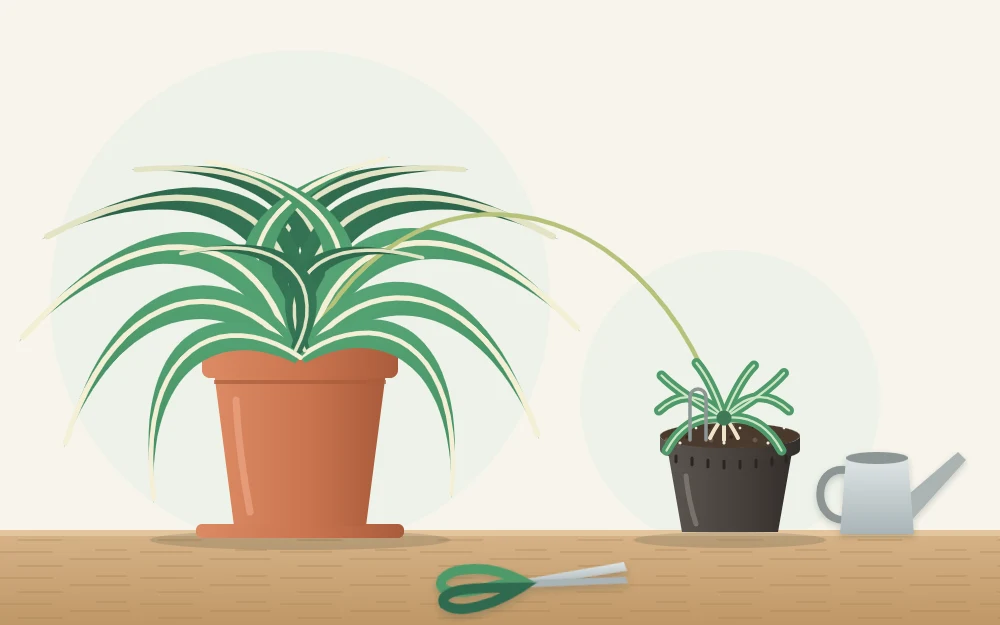
Mature spider plants send out long, arching stems that carry small white flowers and then plantlets, often called spiderettes. Each plantlet is a small rosette of leaves, and many develop stubby root nubs at the base while still hanging in the air. Rooting one while it is still attached to the mother plant is a reliable method, because the plantlet keeps receiving water through the stem until its own roots take over.
- Choose a plantlet with several leaves and, ideally, visible root nubs at its base.
- Fill a small pot that has drainage holes with moist potting mix and stand it beside the mother plant.
- Rest the base of the plantlet on the surface of the mix and press it in lightly. A bent paper clip or a piece of wire over the stem can hold it in place.
- Keep the mix in the small pot lightly moist, not soggy, and leave the stem attached.
- After a few weeks, tug the plantlet very gently. When it resists and shows new growth, cut the stem close to the plantlet.
How long rooting takes varies with light, warmth and season. You can also leave the plantlets on the plant; they do no harm, though a plant carrying many may dry out faster. If you enjoy this kind of project, pothos is another beginner plant that is simple to propagate, from stem cuttings.
Spider plants and pets
Good to know
The ASPCA’s entry for spider plant lists it as non-toxic to dogs and cats. A non-toxic listing is not an invitation to let pets eat it: chewing any plant can still upset a pet’s stomach, and it damages the plant.
Placing the plant out of reach is still sensible. The dangling plantlets tend to attract attention, so a hanging planter or a high shelf suits both the plant’s shape and a home with animals. If your pet eats a plant and seems unwell, contact your veterinarian or an animal poison control service.
The guide to checking whether a houseplant is toxic to pets shows how to look up any plant by its botanical name. For more botanical detail, see NC State Extension’s plant profile for Chlorophytum comosum.
Frequently asked questions
Why does my spider plant not produce plantlets?
Plantlets appear on mature plants, so a young spider plant may simply need more time. Light matters as well: plants in dim spots often grow slowly and stay sparse. Try a brighter position with indirect light, keep up steady care based on checking the mix, and be patient through winter.
How do I know when a spider plant needs water?
Feel the potting mix. When the upper part is dry, water thoroughly until water drains from the holes, then empty the saucer. The thick storage roots tolerate some drying. A pot packed with roots dries much faster than a newly repotted one, so keep checking as the plant grows.
Should I cut the plantlets off my spider plant?
It is optional. Plantlets can stay on the plant as part of its look, although a plant carrying many may dry out faster. To make new plants, root a plantlet in its own small pot while the stem is still attached, and cut the stem once it has rooted.